

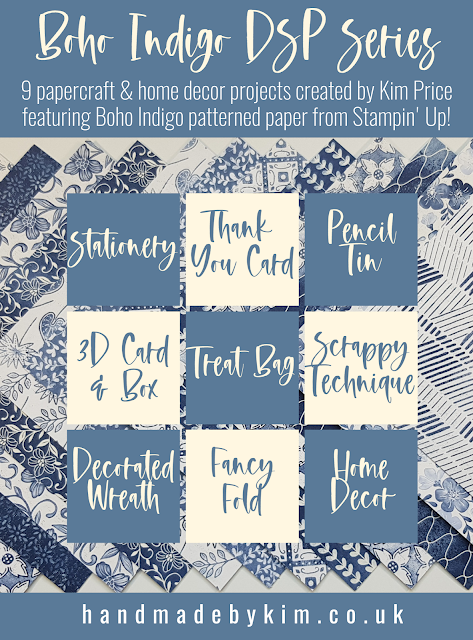
My final project in my nine part Boho Indigo DSP Series is a decorated wreath!
This is a gorgeous handmade home decor project using up scrap pieces of coordinating patterned paper.
The sentiment I've used makes this suitable for a wedding present - however, just a simple change of words can make this suit any occasion!
You can see all of the projects I've created in my Boho Indigo DSP Series - simply click the image below.
Having made so many projects from just one Boho Indigo Product Medley Refill, I had lots of pieces left over that were perfect to use in this project.
I cut approximately 80 strips of patterned paper, varying in width - between 1/4" to 1/2" wide and 5" long.
The length of the strips entirely depends on the size and style of your wreath. I would suggest cutting about 20 strips at a time. This is so you don't cut more than you need - although if you have some left over, take a look at my pencil tin as an example of how you can use them!
For this project, I have used a polystyrene foam wreath, 20cm wide, with a flat back. It's nowhere near as large as a wreath you might hang on your door at Christmas. If you're making a wreath that size, you'll need a lot more strips of paper!

I applied double sided sticky tape directly to the polystyrene and then wrapped the paper around it, giving the paper a bit of a curl with my bone folder beforehand so it sat nicely on the curved sides.
I have wondered since if using a liquid glue would work just as well - do let me know if you have tried this!
I applied the strips of paper in a anti clockwise direction, slightly overlapping them each time.
Of course you can apply it in a clockwise direction too, just make sure you continue in the same direction, clockwise or anticlockwise, so all of the pieces are overlapping in the same way.


You can also purchase the Boho Indigo Product Medley for £65.00 here


I've chosen a lovely sentiment from the Forever Blossoms stamp set. I stamped the sentiment in Versamark ink onto Very Vanilla Cardstock. I applied Gold Embossing Powder and used my Heat Tool to set it.
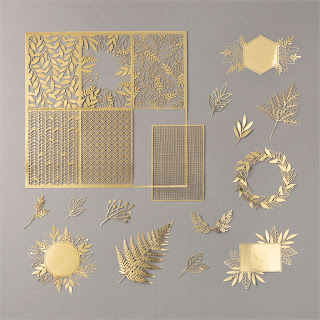
I layered the sentiment onto another piece of Very Vanilla cardstock and then added it to the centre of one of the pieces from the Forever Gold Laser-cut Specialty Paper.
The Forever Gold Laser-cut Specialty Paper has a wonderful selection of elements you can use in your projects. You can purchase this for just £14.00 from my online shop by clicking here.
For the finishing touches, I added the gold Gilded Gems to the front of the wreath. I also added a loop of Very Vanilla Metallic Edge Ribbon (ti hand the wreath) to the back using a drawing pin.
Even after making these nine projects, I still have lots of the kit left over and I haven't even used the die cut elements yet!
You can purchase the Boho Indigo Product Medley Refill for £21.00 here
- 48 sheets of 6" x 6" (15.2 x 15.2 cm) Designer Series Paper
- 6 sheets of Very Vanilla 6" x 6" (15.2 x 15.2 cm) dry embossed paper
- 6 sheets of die cuts
- 40 paper flowers
 |
The Boho Indigo Product Medley includes all of the above plus the following for £65.00:
- 11-piece photopolymer stamp set
- 12-piece Boho Indigo Dies
- Night of Navy 1/2" (1.3 cm) Frayed Grosgrain Ribbon, 10 yards (9.1 m)
- Very Vanilla/gold 1/4" (6.4 mm) Pleated Ribbon, 10 yards (9.1 m)


Post a Comment